Welcome


Welcome to The Gingerbread Bunny! I'm Sarah, a textile artist specialising in crochet and felt based in Wigan in the North-West of England.

On my blog, you can find my day-to-day craft adventures and tutorials.

You can find details of my work for sale and workshops on my website - www.thegingerbreadbunny.co.uk

Showing posts with label patterns. Show all posts

Thursday, 29 May 2014

Teaching Crochet - Perfect Patterns for Beginners

It's half term at the moment here in Wigan, so that means no crochet classes.  I've got a few interesting posts lined up over the next few weeks but today I'm going to share some of my favourite patterns for beginners.

I'm pretty sure that the main reason we learn to crochet is so we can make something. Yes, there are other benefits to crochet - it keeps my hands busy, helps me to relax and, quite frankly, is the most awesomist hobby in the whole wide World.  For me, I wanted to be able to make garments.  Quite a big ambition for a beginner but that's why I initially picked up my hook and yarn. 

I've found this to be true of almost every student I've ever taught.  Some of them are obsessed with scarves, others want to master amigurumi and then there are those with the big ambitions of making a blanket to cover a king size bed (I wonder if any of my students will recognise themselves here?)

Bearing this in mind, I plan my sessions to include links to patterns that I feel are suitable for beginners.  It's really important to test these out first to make sure that they work and are written in an easy to follow way and sometimes I've re-written them to make sure they are. 

Below you will find links to some of the patterns I recommend to my students - I hope you find these useful either to share with your own students or to use if you're a beginner.  You may also find my previous post on reading crochet patterns useful to which can be found here.

The Humble Granny Square


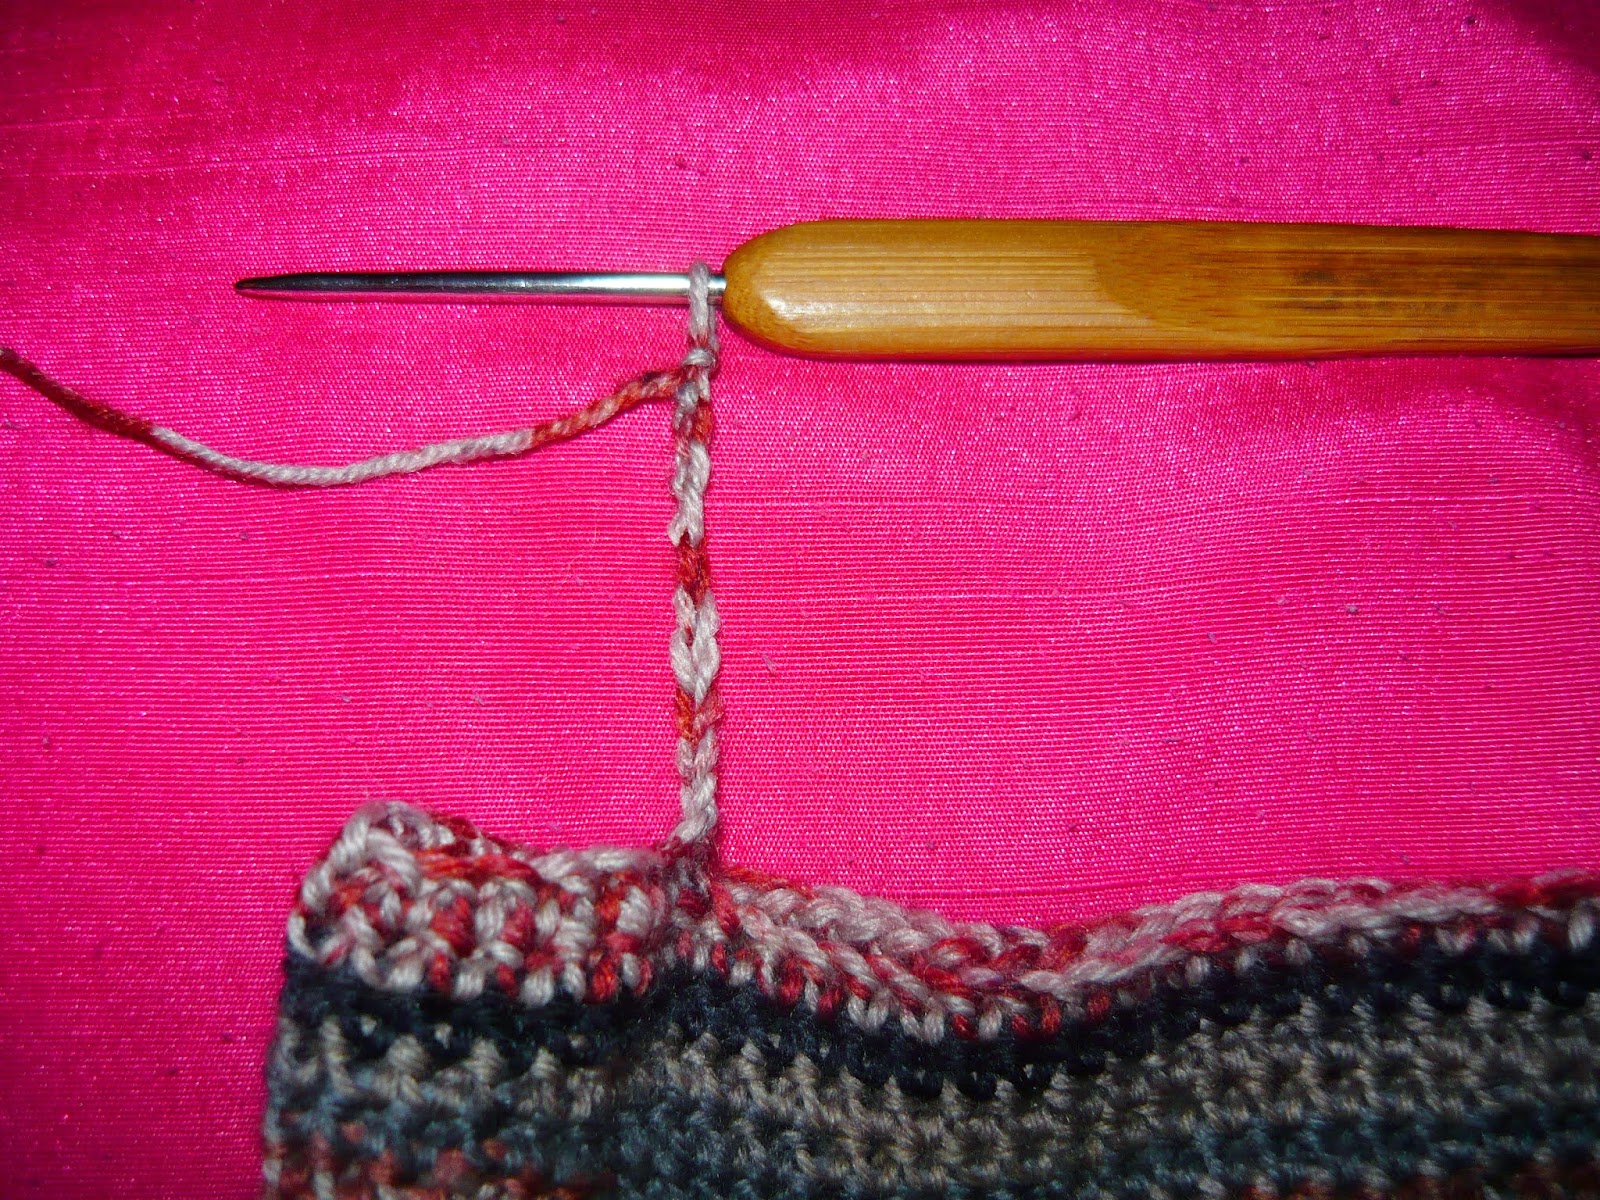
Everyone loves granny squares.  I teach granny squares as part of my 1 day beginners crochet workshop and as the third lesson on my 10 week course.   I wrote this pattern to make changing colour at the end of each round easy.  I give the students handouts with all of the photographs on so that when they go home, they have a little bit of help. I've seen some fabulous creations with granny squares - a few blankets in beautiful colours and a child's dress with granny squares as the top and fabric for the bottom. 

The Granny Shrug

http://www.ravelry.com/patterns/library/granny-shrug-2

I love this pattern! (Although I have re-written it to make it easier for my students to follow and one day I will post it to my blog)  It is a super easy way to make a garment.  It is made of 2 granny hexagons that when folded and stitched, makes a cardigan.  I love that students can make it to fit them really easily just by altering the number of rounds they work.  You can also make it in any weight of yarn - I've seen it successfully made in chunky yarn and in cotton DK.

Amigurumi Owls

http://www.ravelry.com/patterns/library/baby-owl-ornaments

These go down a storm on my course.  The pattern is well written and very easy to follow and, best of all, makes a really cute owl!  Each owl has it's own little personality. I use this pattern as an introduction to crocheting 3D objects and amigurumi.  As it is an American pattern, I use it as an opportunity to teach students about the differences in terminology and to allow them to find their own way to manage this.

The Granny Shawl

http://lallylou-lou.blogspot.co.uk/2010/06/granny-shawl-pattern.html

As part of my beginners course, I give the students 2 weeks where they can work on a project in class.  This way, they can make something a bit more challenging, have access to me for help and apply the skills they've learnt working more independently.  I offer the choice of 2 patterns, this or the Granny Shrug or students can work on something  of their own.  I love the granny shawl as it is just the right amount of challenging.  It also looks great in any yarn and can be made for winter or summer.  The pattern I use isn't on Ravelry but I have found this brilliant one, complete with video, by Lally Lou Lou (I think this may be the one I use in future!)

The Chevron Scarf

http://www.ravelry.com/patterns/library/just-another-chevron-scarf
I have to admit that the chevron stitch has to be one of the most beautiful stitch patterns there is, but it is also one of the most difficult.  One mistake, and it just doesn't work.  It has been requested as a session on a number of occasions so I spent hours trying out chevron patterns until I found one that was easy to follow for beginners.  In this version of the stitch, the mountains and valleys line up on top of each other so, once a few rows have been worked, it's clear to see where they go.  This pattern requires perseverance and you must, must, must count your stitches carefully.


Monday, 19 May 2014

5KCBWDAY7 - Looking Back, Looking Forward


As they say, better late than never.  I've been away this weekend on my felt course and didn't get back until late last night.  Anyway, the post for the final day of Knitting and Crochet blog week is to look back at this same post from last year and to look forward to what I hope to have achieved by next years.

Looking Back

Tunisian Crochet - Although I have continued to explore tunisian crochet, which I love, I have yet to make a large item with it.  I do however have a few clothing patterns that i hope to create one day!

Workshops - Well, I have definitely achieved this goal.  Since the last blog week, I have taught private workshops in crochet and am now teaching as part of the adult education programme. I can honestly say that I love it.

Design - Probably my biggest goal last year was to write up some of my crochet designs.  I have written up 2, my crochet Christmas wreath and my sock pattern.  It is a real challenge writing patterns as it is so important to keep it simple and easy to follow.  This is something I wish to continue with.

Looking Forward

By next years Knitting and Crochet Blog Week I hope to have:

1) Made that tunisian cardigan I love so much

2)  Learnt how to broomstick crochet

3)  Conquered the World with my range of upcycled skirts and clothing using crochet and felt

I wonder just how many of these I will have achieved by next years knitting and crochet blog week?

As ever, it's been so much fun joining in with #5KCBW and I want to send a great big thank you to the awesome Eskimimi Makes for planning it all and creating some wonderful topics.  If you want to read my other posts from this week, then follow the links below.

5KCBWDAY1 -  A Day in the Life
5KCBWDAY2 - Dating Profile
5KCBWDAY3 - Experimental Photography
5KCBWDAY4 - Conversations between Workers
5KCBWDAY5 - Something a Bit Different
5KCBWDAY6 - Views of Others, Views of Yourself

You can also read everyone elses posts by searching for the tags below (there are some brilliant posts out there).


Saturday, 10 May 2014

Sarah's Simple Crochet Socks

I've crocheted a few pairs of socks, some of them have fit well and others not so well.  When my improvers crochet students asked to learn how to crochet socks, I felt it was time to write up my sock pattern.  It is one which I have developed myself which works for me - hopefully it will work for you to!

Please feel free to share the pattern (if you think it is good) and please leave a comment if you spot any mistakes or think I should make any changes to it.  I'd also love to see any pictures of socks you make from my pattern.

Sarah's Simple Crochet Socks 


Equipment
100g of yarn and corresponding hooks
(This is a guide – adjust hook sizes as necessary to suit your own tension)

Sock/4ply yarn
DK
Aran
Chunky
3.5mm and 3mm
4mm and 3.5mm
4.5mm and 4mm
5mm and 4.5mm

Stitch Markers – At least 1 that is different to the others

Stitches
dc – double crochet (insert hook into stitch, yarn round hook, pull through stitch, yarn round hook, pull through loops on hook)
Edc – extended double crochet (insert hook into stitch, yarn round hook, pull through stitch, yarn round hook, pull through 1 loop on hook, yarn round hook, pull through all loops on hook)
dc blo – double crochet  in the back loop of the stitch.
sl st – slip stitch


Making the Pattern Work for You
Although this pattern is written for sock yarn, it is easy to adapt for any weight of yarn. Follow the instructions carefully for working the toe and decreasing for the heel.  Everything else is just the same!
Keep a note of how many rounds you have completed, length of different parts of the sock and any changes you make – this will be useful when making your second sock!


TOE
Ch 9

(This should be approximately 4cm long and roughly the distance from your big toe to your middle toe.  If you are using a different weight of yarn, just make sure that your chain is approximately 4cm long and make a note of how many stitches you made and how many rounds worked in the toe section)

    1) Sk first ch, dc into the back bump of each ch (8dc) Place marker in last dc worked.  Rotate work 180° so that you are working into the top of the stitch.  Work 1dc in each stitch (8dc) Place unique marker in last st.  (16dc in total)

Mark the last st on each side with different markers


Increasing
  
    2) 2dc in next st, work 1 dc in each st to the last st before the next marker.  Work 2dc in this st, 1 dc in marked st (move marker up), 2dc in next st.  1dc in each st to the last st before unique marker.  2dc in this st, 1 dc in marked st (move marker up).

Repeat the increase round 7 more times (48 stitches) 

The toe should fit snugly over the toes.  You don’t want this to be too big!
Too big – work less rounds                            Too small – work more rounds

FOOT

The foot is worked in a spiral – do not join at the end of each round.  Remove the markers from the toe and use 1 to mark the first st of the round.  Move this up with each round.

   
       3) Work 1 Edc into each stitch of the round

Repeat row 3 until the foot of your sock is the desired length.

It should reach just past the middle of the arch of your fit when stretched a little. 
(Mine measured 16cm from the tip of the toe for a UK size 7 shoe size)


HEEL
Fold the foot flat so that it looks like the bottom of the foot.  Place markers where the foot folds on the left and right of your work.  


    4) Edc in each st until you reach the 1st marker (work in the marked stitch).  Turn

WORKING BETWEEN THE MARKERS

5)  Ch1, dc in each st to the opposite marker (work the marked st), turn
     6) Ch1, dc in each st until the last st (this will be your marked st), skip this st, turn


    Repeat row 6 until you have 9 stitches left (or the same number of stitches that you chained at the start of the sock)

   TURNING THE HEEL

    Use markers to mark the unworked st of the previous row.  Move this down as you work each row – this will help you to see the stitch as it can often seem too far away and get lost!

    7)   Turning Row:  ch1, dc in each st across, word 1dc in the side of the previous row and 1 dc in the unworked dc of the previous row.  Turn

Stitches worked in the side and unworked stitch from previous row


Repeat row 7 until you reach the last round before heel shaping began.

    LEG
     The leg is worked in spiral rounds. Mark the first st of each round.  Move the marker up as you work.

   8)   Ch1, turn, work 1 Edc in each st round

    Repeat row 8 until leg is desired length.

   CUFF

   We are going to work in rows at 90° to our sock.
   Switch to your smaller hook (0.5mm smaller) – this will give you a slightly tighter cuff.

    9)    Ch11 (If you want a longer cuff then chain more stitches)


    10)     dc in 2nd ch from hook, dc in each st until you reach the sock.  Sl st to the base st on the leg of your sock, sl st into the next st on the leg of your sock. (10dc) Turn


11)    dc blo in each st (10dc) , ch1, turn, dc blo (10 dc), sl st in the next st on the leg of your sock, sl st in next st on the leg of your sock.  


   Repeat row 11 round the top of your sock until you reach the start of your cuff.  Fasten off leaving a long tail. 

  FINISHING
   Use long tail to join the start and finishing row of your cuff together with a whipstitch. Weave in all ends. 

    Make your second sock in the same way – wear and enjoy!