I've
crocheted a few pairs of socks, some of them have fit well and others
not so well. When my improvers crochet students asked to learn how to
crochet socks, I felt it was time to write up my sock pattern. It is
one which I have developed myself which works for me - hopefully it will
work for you to!
Please
feel free to share the pattern (if you think it is good) and please
leave a comment if you spot any mistakes or think I should make any
changes to it. I'd also love to see any pictures of socks you make from
my pattern.
Sarah's Simple Crochet Socks
Equipment
100g of yarn and corresponding hooks
(This is a guide – adjust hook sizes as necessary
to suit your own tension)
|
Sock/4ply yarn
|
DK
|
Aran
|
Chunky
|
|
3.5mm and 3mm
|
4mm and 3.5mm
|
4.5mm and 4mm
|
5mm and 4.5mm
|
Stitch Markers – At least 1 that is different to
the others
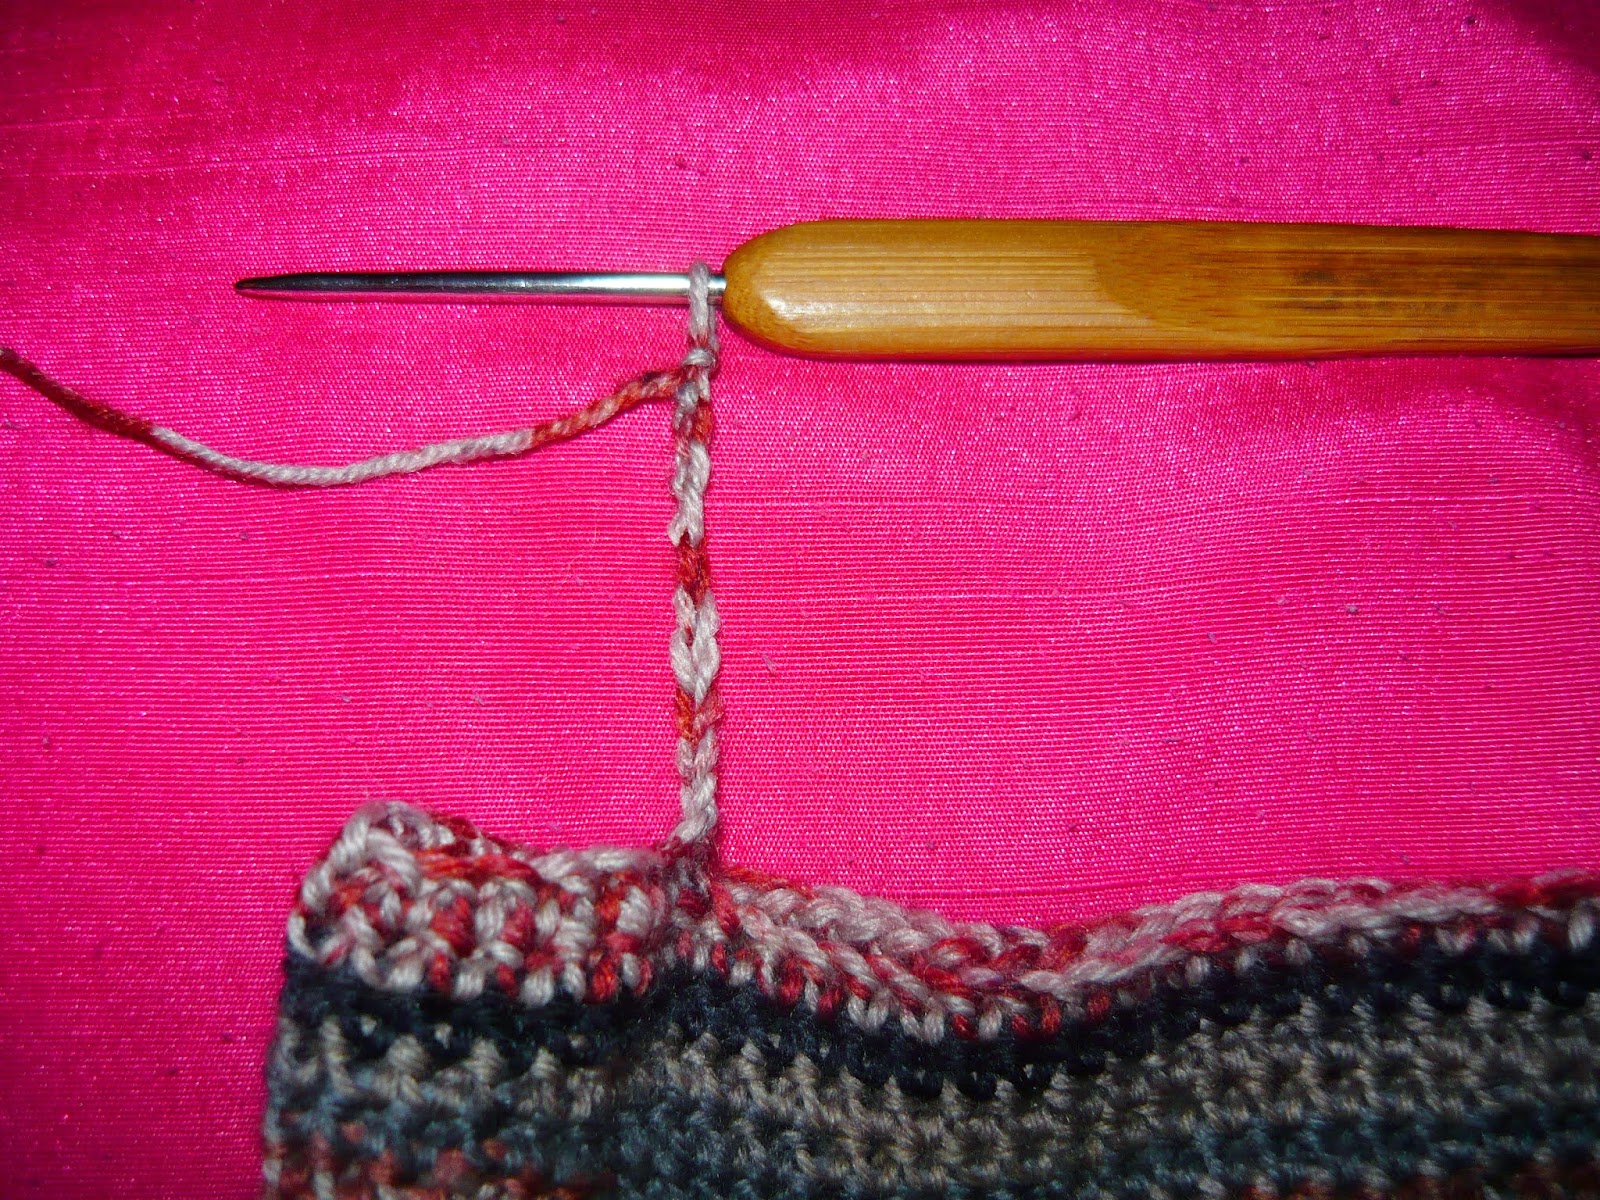
Stitches
dc
– double crochet (insert hook into stitch, yarn round hook, pull through
stitch, yarn round hook, pull through loops on hook)
Edc
– extended double crochet (insert hook into stitch, yarn round hook, pull
through stitch, yarn round hook, pull through 1 loop on hook, yarn round hook,
pull through all loops on hook)
dc blo – double crochet in the back loop of the stitch.
sl st – slip stitch
Making
the Pattern Work for You
Although this pattern is written
for sock yarn, it is easy to adapt for any weight of yarn. Follow the
instructions carefully for working the toe and decreasing for the heel. Everything else is just the same!
Keep a note of how many rounds
you have completed, length of different parts of the sock and any changes you
make – this will be useful when making your second sock!
TOE
Ch 9
(This should be approximately 4cm long and roughly
the distance from your big toe to your middle toe. If you are using a different weight of yarn,
just make sure that your chain is approximately 4cm long and make a note of how
many stitches you made and how many rounds worked in the toe section)
1) Sk first ch, dc into the back bump of each ch
(8dc) Place marker in last dc worked.
Rotate work 180° so that you are working into the top of the
stitch. Work 1dc in each stitch (8dc)
Place unique marker in last st. (16dc in
total)
 |
| Mark the last st on each side with different markers |
|
|
Increasing
2) 2dc in next st, work 1 dc in each
st to the last st before the next marker.
Work 2dc in this st, 1 dc in marked st (move marker up), 2dc in next
st. 1dc in each st to the last st before
unique marker. 2dc in this st, 1 dc in
marked st (move marker up).
Repeat the increase round 7 more
times (48 stitches)
The
toe should fit snugly over the toes. You
don’t want this to be too big!
Too
big – work less rounds Too small – work
more rounds
FOOT
The foot
is worked in a spiral – do not join at the end of each round. Remove the markers from the toe and use 1 to
mark the first st of the round. Move
this up with each round.
3) Work 1 Edc into each stitch of
the round
Repeat row 3 until the foot of
your sock is the desired length.
It
should reach just past the middle of the arch of your fit when stretched a
little.
(Mine
measured 16cm from the tip of the toe for a UK size 7 shoe size)
HEEL
Fold
the foot flat so that it looks like the bottom of the foot. Place markers where the foot folds on the
left and right of your work.
4) Edc in each st until you reach
the 1st marker (work in the marked stitch). Turn
WORKING
BETWEEN THE MARKERS
5)
Ch1, dc in each st to the opposite marker
(work the marked st), turn
6) Ch1, dc in each st until the last
st (this will be your marked st), skip this st, turn
Repeat row 6 until you have 9 stitches left (or
the same number of stitches that you chained at the start of the sock)
TURNING
THE HEEL
Use
markers to mark the unworked st of the previous row. Move this down as you work each row – this
will help you to see the stitch as it can often seem too far away and get lost!
7)
Turning Row: ch1, dc in each st across, word 1dc in the
side of the previous row and 1 dc in the unworked dc of the previous row. Turn
 |
| Stitches worked in the side and unworked stitch from previous row |
Repeat
row 7 until you reach the last round before heel shaping began.
LEG
The leg
is worked in spiral rounds. Mark the first st of each round. Move the marker up as you work.
8)
Ch1, turn, work 1 Edc in each st
round
Repeat row 8 until leg is desired length.
CUFF
We are
going to work in rows at 90° to our sock.
Switch to
your smaller hook (0.5mm smaller) – this will give you a slightly tighter cuff.
9)
Ch11 (If
you want a longer cuff then chain more stitches)
10)
dc in 2nd ch from hook, dc in each st until you reach the
sock. Sl st to the base st on the leg of
your sock, sl st into the next st on the leg of your sock. (10dc) Turn
11)
dc blo in each st (10dc) , ch1,
turn, dc blo (10 dc), sl st in the next st on the leg of your sock, sl st in
next st on the leg of your sock.
Repeat row 11 round the top of your sock until you
reach the start of your cuff. Fasten off
leaving a long tail.
FINISHING
Use long tail to join the start and finishing row
of your cuff together with a whipstitch. Weave in all ends.
Make your second sock in the same way – wear and
enjoy!